

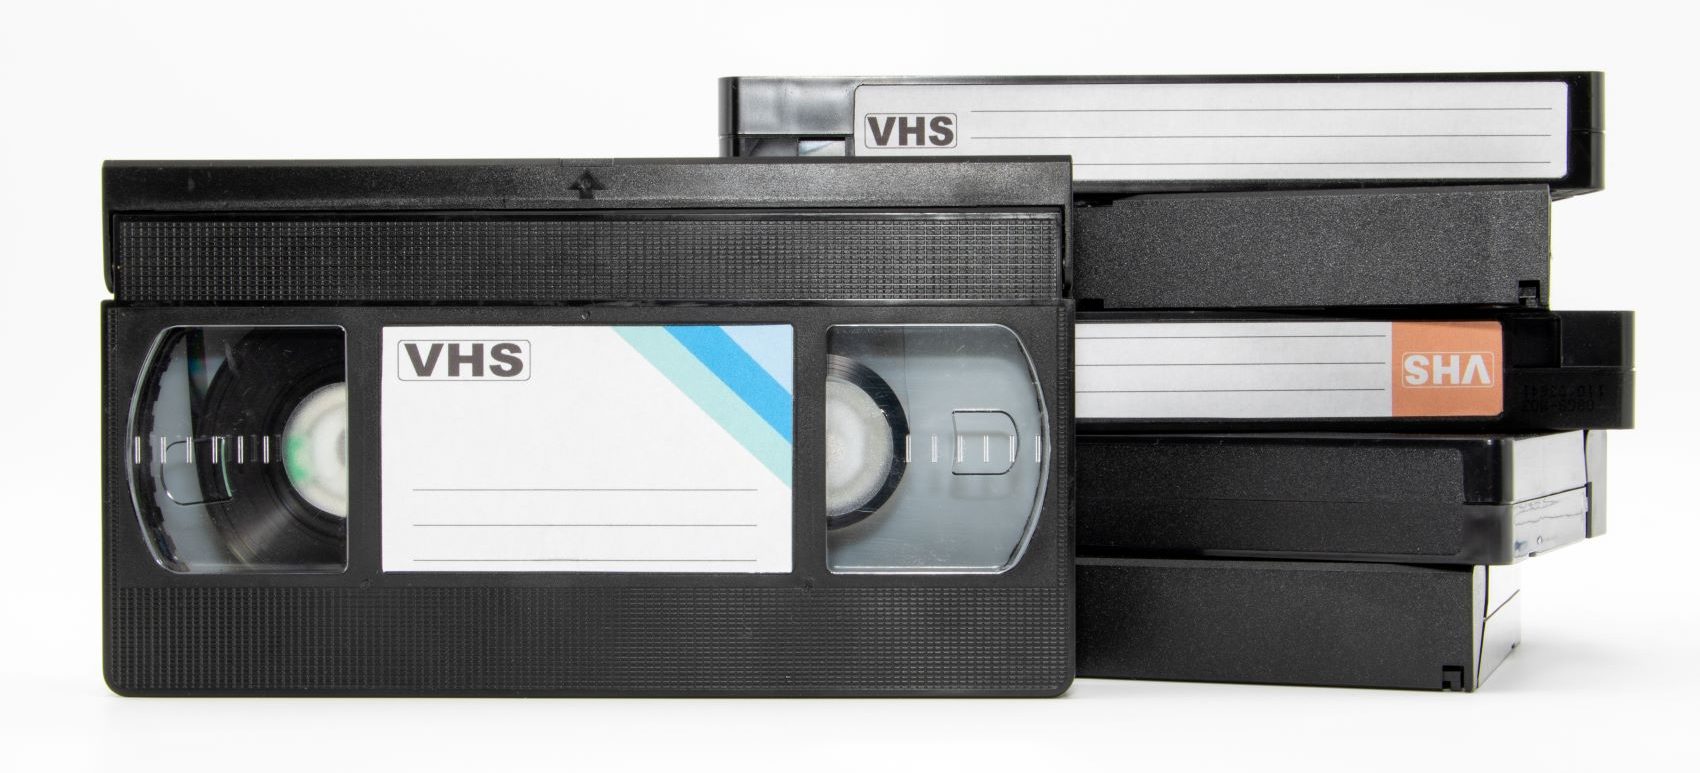
Somewhere in a closet, a garage cabinet, or a box beneath the basement stairs, there may be a stack of VHS tapes no one has watched in years. They might hold a grandparent’s 80th birthday toast, a child’s first steps across a kitchen floor, or a backyard Fourth of July when everyone was still together in one place.
Those recordings are irreplaceable, but they are also fragile. Magnetic videotape degrades over time, losing color, sharpness, and even playability as the tape binder breaks down. Preserving family memories recorded on VHS is not a someday project. It is easier to do while the tapes can still be played. With a careful plan and the right support, a shoebox of tapes can become a well-organized digital archive your family can watch, back up, and share.
What Conversion Preserves and What It Cannot
Digitization captures the current audio and video signals from a tape and stores them as digital files. That is valuable because it protects the saved copy from further tape wear. It also gives you more options for backup and sharing.
It is still important to set expectations. Conversion cannot add detail, resolution, or clarity that is no longer present on the original tape. Most U.S. home videos were recorded in the NTSC standard, which contains far less visual detail than modern high-definition video.
A skilled technician may apply light color correction or mild noise reduction during transfer, but the result will still look and feel like vintage home video. That look is part of the memory. Clear expectations help you avoid inflated promises and focus on preserving what is actually there.
Step 1: Inventory and Prioritize
Before anything ships or gets plugged into a deck, take stock of what you have. A simple catalog helps keep the project organized and reduces the risk of overlooking an important tape.
Quick inventory checklist:
- Note the approximate year, event, and people featured on each tape’s label or spine.
- Record the format, such as VHS, VHS-C, S-VHS, Hi8, or another type.
- Check physical condition, including visible mold, a cracked shell, a musty smell, or a cassette that rattles when gently moved.
- Flag brittle, water-damaged, or moldy tapes for professional handling only.
Prioritize the recordings you cannot afford to lose: weddings, milestone birthdays, grandparents telling stories, or a child’s first recital. These “can’t-lose” tapes should move to the front of the line.
Step 2: DIY vs. Professional
For a small number of tapes in good condition, a do-it-yourself setup can produce acceptable results. You will need a working VCR, a capture device, and basic editing or recording software. The learning curve is moderate, and the upfront cost can be reasonable if you already have some of the equipment.
The calculation changes when the collection is large, the tapes are old, or the footage is truly irreplaceable. Consumer VCRs may not read aging tapes as cleanly as calibrated playback decks. Running a damaged or moldy tape through home equipment can also cause permanent harm.
Professional services use specialized playback gear, cleaning procedures, and quality-control steps that reduce risk. Neither path is always better. The right choice depends on the condition of your tapes, the size of your collection, and how much risk you are comfortable accepting.
Step 3: Choose the Right Partner
If you decide to work with a professional service, compare providers before sending anything away. The cheapest option is not always the safest choice for one-of-a-kind family media.
What to look for:
- Accepted formats: Confirm the service handles VHS, VHS-C, and any other formats in your collection.
- Chain of custody: Ask how tapes are tracked from intake through return. Documented tracking matters when the media cannot be replaced.
- Shipping and handling: Look for insured, trackable shipping both ways, or an in-person drop-off option if geography allows.
- Cleaning and repair policies: Ask whether the provider inspects and cleans tapes before playback, and how they handle shells that need minor repair.
- Quality-control steps: Find out whether a technician reviews digitized files before delivery.
- Privacy practices: Clarify how footage is stored during processing and when files are deleted after delivery.
- Deliverable options: Confirm what you will receive, such as digital files, USB drives, DVDs, cloud access, or a combination.
For fragile or irreplaceable tapes, consider VHS conversion services that provide calibrated playback gear, secure handling, and clear deliverables before you ship anything.
Step 4: Prep and Pack Safely
Good preparation protects your tapes in transit and helps the conversion team process them efficiently.
Preparation tips:
- Label each tape’s spine clearly with a number that matches your inventory list.
- Avoid applying new adhesive labels directly to the cassette shell. Use a removable tag or a numbered rubber band instead.
- Dust cassette shells lightly with a dry, soft cloth. Do not use liquids or compressed air.
- If a tape’s leader is loose, gently wind it back with a pencil through the spool hub. Do not force it.
Packing basics:
- Wrap each tape individually in bubble wrap or soft packing material.
- Use a rigid box, not a padded envelope.
- Fill space so tapes cannot shift during transit.
- Include a printed inventory list inside the box.
- Ship with a trackable, insured carrier and avoid leaving the package in extreme heat before drop-off.
Step 5: Specify Deliverables You Will Actually Use
Think about how your family will watch, share, and store the files before the transfer begins. The right format depends on whether you want easy viewing, future editing, physical gifts, or all three.
Recommended deliverables:
- Every day viewing file: A widely compatible format, such as MP4, is practical for laptops, tablets, phones, and smart TVs.
- Higher-quality mezzanine file: If offered, request an edit-ready version at a higher bitrate for future projects, such as highlight reels or restored compilations.
- Physical media: USB drives or DVDs can be useful for relatives who prefer something tangible.
Establish a simple naming convention, such as 1987_Thanksgiving_Grandma_House.mp4, and ask the provider to organize files into folders by year or event. Adding basic details, such as names and dates, makes searching easier later.
After Digitization: Preserve, Share, and Celebrate
Getting the files back is not the finish line. A thoughtfully chosen frame, still image, or clip can become a lasting display piece, while a few additional steps turn a completed transfer into a durable family archive.

Post-digitization checklist:
- Use the 3-2-1 backup rule: keep three copies of your files, on two different types of media, with at least one copy stored offsite.
- Store original tapes in a cool, dry place, away from direct sunlight, moisture, and magnetic fields.
- Create a private cloud album and invite family members to browse at their own pace.
- Curate a short highlight reel for a milestone gathering, such as an anniversary dinner or family reunion.
- Load a rotating selection onto a digital photo frame for grandparents or relatives who prefer a low-effort viewing option.
- Consider hosting a family archive day where everyone can watch, laugh, and add context to unlabeled footage.
For couples revisiting ceremony footage, the archive can also inform wedding keepsake ideas that feel personal without making private videos public.
Privacy, Permissions, and Good Etiquette
Home videos often show people in candid, unguarded moments. Before sharing widely, a few courtesies can prevent discomfort or conflict.
- Ask family members featured in sensitive or embarrassing footage whether they are comfortable with it being shared beyond the immediate household.
- Be thoughtful about posting clips on social media or public platforms. A private link or password-protected album may be a better fit.
- If any tapes contain commercial broadcasts, television programs, or other copyrighted material, duplicating that content without permission may raise copyright concerns. For specific questions about personal-use duplication, consult the U.S. Copyright Office’s published circulars or a qualified professional.
This article does not constitute legal advice. It is meant to encourage thoughtful handling of personal media.
Costs, Timelines, and Realistic Expectations
Turnaround times vary, but expect weeks rather than days for a sizable collection. Providers typically process tapes in the order received, and batches of 20 or more tapes can take a month or longer. Tapes that require cleaning, shell repair, or mold remediation may cost more and take additional time.
Several factors influence the overall cost of a project:
- Total number of tapes
- Physical condition, especially if tapes are damaged or moldy
- Choice of deliverables, such as cloud access, USB, DVD, or multiple formats
- Extras such as chapter markers or basic editing
Rather than shopping on price alone, weigh the value of documented handling procedures, quality-control reviews, and clear privacy policies. The goal is to ensure the footage your family has kept for decades arrives safely in a format that will last and be shared with the people who matter most.
A shoebox of aging tapes is easy to overlook. Turning it into a well-organized, backed-up, and shareable digital collection is one of the most meaningful preservation projects a family can take on.