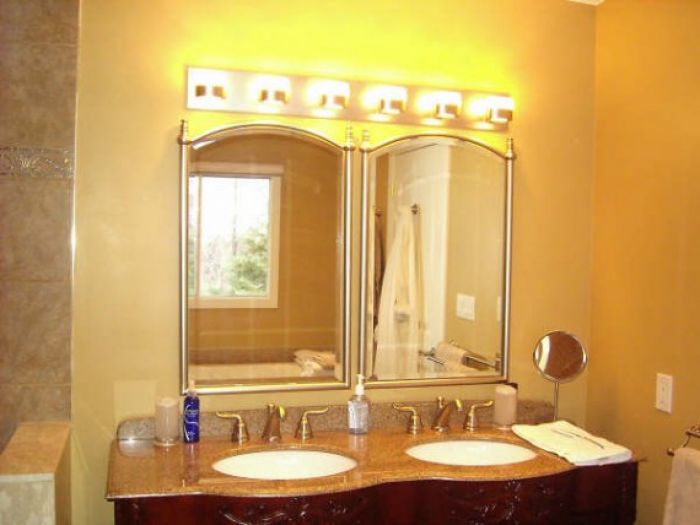
Having a vanity light is an ideal way to enhance the overall ambience of your bathroom. But the great news is that you yourself can install these lights just like you would install a ceiling light fixture and save fortune that you may spend heavily by calling a professional. All you have to do is choose the most suitable one from the available variety and then use an electrical box to install the lights in less than an hour for brightening the bathroom.
Before purchasing the fixture, ensure that it fits properly into the chosen space without colliding with a hurdle such as a wall. As a tip, prefer a lighting fixture that has a frosted diffuser as well as halogen bulbs for creating gentle but strong light that does not make shadows. Unlike in traditional homes where the luminous fixtures were mounted to the electrical box directly, in modern homes due to changed electrical codes, the fixtures need to be mounted to a leveled metal bar (Strap) secured to the box. Therefore, ensure that you buy a fixture that comes with screws and mounting metal bar for quicker installation. Now, let’s look at the steps for installing the vanity lights.
Step 1: Remove the Old Fixture
Before starting with the installation, turn off the power completely, which is supplied to the existing fixture and then gently remove its diffuser as well as the bulb. Next, extract the retaining core affixed to the ornamental cover plate by removing the screws. In case it does not come out easily, take a knife and sprint it through the plate’s edges for removing any rigid paint or caulk. After this, remove the wiring and keep the old lighting fixture away.
Step 2: Check for Wires Out of the Electric Box
If you ignore this step, then the installation may go wrong or skewed. If you find a stained, imperfect, or cut wire, trim it off by using a wire stripper.
Step 3: Make the Target Area Suitable
In case of a completely new fixture with a more unique trajectory than the former one, you might require to coat, sand, or fill up nail holes for obtaining a uniform surface under the new light. For this, just hold the new fixture to the wall without affixing it and check out for such unfinished areas if any.
Step 4: Attach the Wires of New Fixture
Follow the instructions given in the manual to perform this step. You will have to attach the new wires to the wires in the box. Be very cautious in this step because the risk of an electrical shock is high due to water around. Extra care is needed while working with the ground wire. You will be mostly attaching the ground wire to the bar.
Step 5: Attach the New Fixture to the Box
Read the instructions in the manual and affix the fixture to the electrical box. Then, fix in the halogen bulbs and frosted, friction-tight diffuser that is positioned usually with the help of a retaining nut or an elegant cap.
Author Bio :
Patrick is a qualified designer and constantly maintains engaged discovering more details about the construction industry. Furthermore, he handles a webpage related to 3d architectural visualization where he features his ideas and work, you may prefer to take a look at unique photorealistic renderings on his own homepage. When he is free, he loves to work for himself decorating his own furniture at home, and turning his ideas into illustrations in 3 dimensions that are easy to understand for everybody.


